
Key Takeaways
- Get a pro inspection before the first cold nights. This will prevent hazards, provide a repair report in writing, and give you peace of mind that your heater will run safely and efficiently.
- Check the heat exchanger, vent pipes, gas valves, fuel lines, and duct vents for cracks, corrosion, blockages, or leaks and fix them before you start up to avoid carbon monoxide and gas hazards.
- Swap and inspect air filters, test your smoke and carbon monoxide detectors, and ensure your thermostat is accurate or replace it with a programmable version to save energy.
- Give it a quick test run to listen for strange noises, check ignition or pilot operation, monitor for error codes, and verify it generates warm and even heat.
- Anticipate a short ‘first-burn’ smell from dust burning off. Get fresh air circulating and address any lingering or strange odors like rotten eggs or electrical smells right away.
- Maintain inspection and maintenance records, adhere to CA safety standards for detectors and venting, and employ your own winterization checklist to minimize repair expenses and maximize system life.
What to check before turning on the heat for the first time in winters ca.
A house safety and efficiency checklist:
- Check filters, vents, and pilot lights for blockages or damage.
- Make sure the thermostat works and has fresh batteries.
- Be aware of smelling gas, odd smells, odd noises, or whether the CO detectors are working.
- Schedule a professional tune-up if the system is older or gave you trouble last season.
Professional Inspection
Professional inspection ensures that heating equipment will operate safely and efficiently when it’s fired up for the season. Have a professional HVAC technician do a thorough pre-season inspection to catch worn components, leaks, or airflow issues that can lead to breakdowns, subpar efficiency, or safety hazards during cold snaps.
Heat Exchanger
Check the heat exchanger for cracks, corrosion, or hairline stress fractures, as these can allow carbon monoxide to seep into living spaces. Technicians typically utilize visual inspection along with a combustion analyzer to identify leaks and confirm flame patterns. Wipe dust and debris off exchanger surfaces and adjacent compartments, as dust build-up reduces heat transfer and can conceal rust. Check for rust as a sign of moisture intrusion or age. If rust is identified on load-bearing seams, the exchanger could require replacement. Verify the heat exchanger is securely mounted and that fasteners and gaskets are intact to prevent vibration damage and gas leaks.
Vent Pipes
Professional Inspection
Check vent pipes for obstructions from leaves, bird nests, or snow and ice. Even partial blockage impedes draft and increases carbon monoxide danger. Make sure all connections are secure and sealed with approved materials so exhaust gases are not seeping into attics or living spaces. Look for rust, spalling, or corrosion on metal vents. This is a sign of a condensation issue or the service life coming to an end. Check that your flue pipe angle and clearances are up to code. Ensure external terminations are unblocked and animal guards are intact.
Gas Valves
Check gas valves and fittings for leaks with calibrated gas detectors or soapy water at joints. Inspect valve bodies and adjacent piping for wear or corrosion and replace any thinning or pitted components. Cycle valves to ensure they open and close freely without sticking, binding, or strange noises that would indicate internal damage. Trade-offs exist between valve designs. The table below contrasts common types and inspection notes so that homeowners can discuss options with technicians.
| Valve Type | Features | Pros | Cons |
|---|---|---|---|
| Ball valve | Quarter-turn, visual open/closed | Quick operation, low leak risk | More costly, larger |
| Gate valve | Rising stem, threaded | Durable, good for isolation | Slower, can stick |
| Globe valve | Throttle control | Fine flow control | Higher pressure drop |
| Automatic safety valve | Spring-loaded shutoff | Protects against failure | Needs regular testing |
Request from the technician a written report of findings and suggested repairs or replacements, with priorities and price estimates. Hold onto that report for future reference and warranty claims.
Critical Startup Checklist
Critical startup checklist A brief checklist prioritizes before initial thermal cycle. The critical startup checklist below organizes key activities, what to watch for, and the importance of each. Adhere to manufacturer instructions for your particular model and test run the unit to catch trouble before seriously cold nights.
1. Air Filters
Swap out clogged air filters. Dirty filters increase energy consumption and can make the blower work harder. Easy swap-outs regularly reduce monthly heating expenses. Filter size stamped from old element or HVAC manual matches MERV recommendations. Higher MERV traps more particles, but can choke some older systems.
Schedule a calendar reminder to inspect monthly throughout heavy winter use in SoCal and other mild-winter locales where HVAC systems cycle on and off. Change more frequently if you have pets or allergies. Think about the benefits: lower utility bills, less repair calls, and improved indoor air quality.
Check the filter housing for dust accumulation. Clean the slot and surrounding areas with a soft brush or vacuum so as not to re-contaminate the new filter.
2. Safety Alarms
Test smoke and CO detectors today. Change out batteries and hold down the test button to hear the entire alarm. Place detectors adjacent to bedrooms and on every level and confirm locations comply with local codes.
Swap batteries even if alarms appear okay. Long-term storage or summer’s heat can zap cells. Have fire extinguishers handy and review expiration dates. If detectors are over 10 years old, replace the unit. CO testing is critical when fuel lines, furnaces, or fireplaces will be utilized more frequently.
3. Thermostat Controls
Verify thermostat accuracy with a separate thermometer and check for responsiveness by toggling setpoints. Schedule winter programs to minimize manual overrides and conserve energy.
If you haven’t already, upgrade to a smart or programmable thermostat for remote control, learning schedules and better zone management. Reduce temperature setpoints slowly to stay comfortable and save on bills. Be sure wiring is secure and the thermostat is appropriate for furnace voltage. Check the furnace rating plate if in doubt.
4. Fuel Lines
Quickly check gas or propane lines for leaks, cracks, corrosion or loose fittings. For propane, check the tank gauge and refill if it is low. Tighten connections and remove the flammable clutter from the vicinity.
Critical Startup Checklist – If you smell gas, exit immediately and call 911. Have annual professional service to test valves and internal components before the season starts.
5. Duct Vents
Vacuum vents and registers, open all dampers, and check for obstructions around radiators or baseboards. Inspect any inside-accessible ductwork for mold, rust, or disconnection and seal leaks with foil tape or mastic.
Run the system on one cycle and personally walk each room to verify even airflow and temperature. Good circulation eliminates cold spots and minimizes runtime.
Regional Safety Standards
Regional safety standards establish minimum steps to keep heating safe and compliant prior to the first seasonal startup. These regulations differ from region to region, but they typically mandate periodic testing, appropriate venting, and functioning alarms in areas with fuel-burning devices. Here’s a brief rundown of some important California-style HVAC and home-safety standards to inspect before you warm up.
- Annual inspection and maintenance by a qualified technician is often required.
- First startup service in the fall visit is best to catch early faults.
- CO detectors must be placed where there are fuel-burning appliances.
- Venting and clear flues are necessary to prevent CO build-up.
- Gas appliances, stoves, and water heaters should meet local codes and be inspected.
- Fireplaces and wood stoves should be cleaned and inspected annually.
- Keep records of inspections and repairs for insurance and compliance.
- Your local building codes may impose further installation and maintenance requirements.
- Portable heaters must adhere to use and placement guidelines to avoid fires and carbon monoxide danger.
Check that your heating system complies with regional regulations for carbon monoxide detectors and venting. If it’s natural gas, propane, oil, or wood, make sure to check your local requirements for placement and type of CO alarms. Typically, CO detectors are installed near sleeping rooms and on every floor. Examine vent pipes, flue connections, and chimney liners for cracks, corrosion, or blockages. Check for rust, soot, or water stains that may indicate a poor draft or leaks. Get a pro to test draft and flue flow on first startup to ensure combustion gases are leaving the home.
Make sure that all gas appliances such as stoves and water heaters are up to regional standards of safety. Make sure appliances possess current permits or certifications as applicable. A certified service technician needs to inspect gas pressure, pilot operation, safety shutoffs, and burner condition. For older units, inquire about necessary upgrades like sealed combustion or enhanced venting to satisfy present code. Record serial numbers and service dates on records to demonstrate compliance.
Maintain records of inspections and maintenance for insurance and regulatory reasons. File service invoices, technician checklists, and inspection certificates in a folder or digital directory. Insurers may want to see evidence that seasonal maintenance was done once a loss occurs and building departments may ask for records upon resale or remodeling. Add dates, technician name and license number, findings, and parts replaced.
Initial Test Run
Take a short test run in early fall to track down issues before the cold weather. To do this in September or October provides approximately 30 to 45 days to order parts or schedule a technician. A trial run now steers clear of the mid-November meltdown and allows you to book service a minimum of three weeks before you require heat.
Fire up the heater for a short test run and listen for strange sounds or sniff for weird smells. Standard noises such as a quick fan spin-up and the furnace settling will produce a light dust burn-off for the first 15 to 30 minutes. Uncommon indicators include loud rattles, grinding, metallic clanks, or an olfactory burning sensation. These point toward loose components, motor bearings, or electrical issues that require addressing.
Follow the system’s startup to be sure the pilot light or ignition runs through fine. For gas furnaces, watch the ignition: a steady blue pilot or quick, reliable electronic spark is normal. If you’re experiencing a delayed ignition, yellow flames, or constant attempts to light, there’s an issue with the igniter, gas valve, or gas pressure. If you have an electric heat system, check that contactors and elements energize without arcing noise or tripped breakers.
Stick your head in a few rooms and note air temperature to check heating efficiency and balance. Measure supply air rise at the register: a typical gas furnace will raise air temperature by 35 to 60 degrees Fahrenheit above return air. Electric systems exhibit varying anticipated gains per manufacturer specs. Don’t forget to check several zones or floors. Storage creep over summer can shift duct sealing or insulation effectiveness. Adjust the thermostat to test setpoint response and verify it holds temperature without short cycling.
Look for error codes or warning lights on the HVAC unit and thermostat that may indicate potential faults. Write down any codes and check your unit manual or a technician. Common problems that are exposed through a test run are clogged filters, which are often the culprit behind short-cycling during that first heating week, dirty burners, weak ignition, or low gas pressure. Change the air filter prior to testing. A clean filter eliminates air-flow issues and provides a more accurate read on system performance.
Use the initial run to inspect key components: visually check the heat exchanger for cracks or corrosion, clean burners, test gas pressure if you’re qualified, and inspect the ignition system and motors. If you feel iffy or sense early warning signs, schedule professional treatment and steer clear of extended use.
First-Burn Smells
First-burn smells are all too familiar when you turn on the heat after months of disuse. Dust and debris accumulate on heat exchangers, burners, and heating elements during the off-season. When those parts heat up, they produce a burning-dust smell that typically dissipates as the dust burns off. A quick smell that dissipates within a minute or two is standard. More typically, anticipate a slight burning-dust scent for 15 to 30 minutes as residual deposits burn off. Moisture-trapped systems cause smells to linger longer since wet material heats slowly and can retain scent.
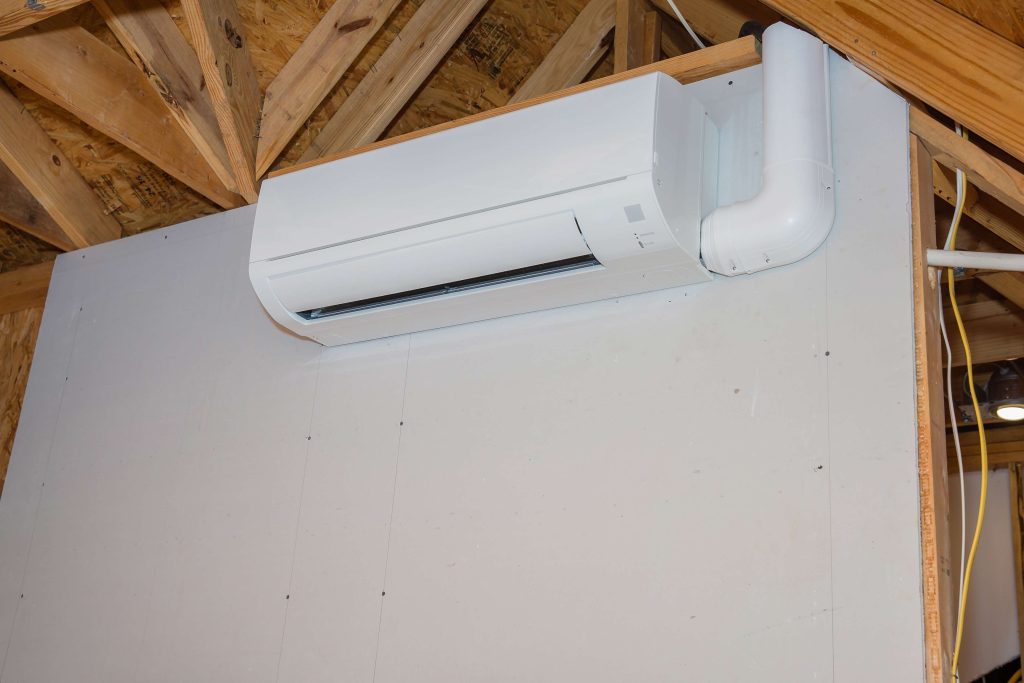
If that lingering startup smell continues, just open a few windows briefly. Ventilation will blow the burnt dust away and keep the smell from permeating the rest of the home. In apartments or very tightly sealed houses, run an exhaust fan or use a portable fan to blow air out an open window. If it clears in the expected 15 to 30 minutes, no action is really necessary. If it clears in under two minutes, that’s normal and indicates minimal accumulation.
You should investigate persistent or strange smells right away. Rotten-egg or sulfur odors indicate a potential gas leak. Get out of the building and phone the gas utility or emergency services from a safe area. First-burn smells and electrical burning smells, such as hot plastic and wire odors, can indicate an overheating motor or failing wiring or control board. Shut off the system and contact a licensed HVAC electrician. If it intensifies instead of dissipating or sticks around for hours, those are telltale signs the unit requires servicing. A little bit of an oil smell on startup is normal for oil furnaces. However, stronger oil smells or an actual oil leak should be serviced.
Clear around your heater and vents before startup to lessen first-burn smells. Vacuum vent dust, remove boxes and other dust-holding stored junk from the vicinity, and wipe exposed surfaces around the furnace. Change disposable air filters and inspect reusable ones for washing. Clean blower compartments and register grilles where possible. Clogged return vents and dirty filters provide more dust circulation and magnify odors. For older HVAC systems, which can have more battle scars and trapped dust and dirt, a deeper scrub or professional servicing is a reasonable precaution.
First-burn smells, ewwwww. A pre-winter tune-up catches degraded components that cause smells or hazards. Technicians can check burners, heat exchangers, seals, and electrical connections, minimizing hazards and keeping the system running clean and safe.
Our Perspective
Pre-emptive seasonal tune-ups are the smart way to maintain a heating system that is dependable and efficient all winter long. Test your systems prior to the coldest stretch of winter so minor problems pop up early, when they are less expensive and easier to repair. Plan a full inspection for early fall. That provides time to order parts or schedule a tech and avoid the mid-winter service call frenzy. It is much better to identify a problem on a mild fall day than on the first freezing night.
Begin with simple, actionable audits anyone can perform. Switch the thermostat to heat and set it a few degrees above room temperature on a mild afternoon to test operation and listen for weird sounds. Check your HVAC air filter and change it if dirty, as it is one of the simplest and most critical things. Over the summer, the system can accumulate dust, pet hair, pollen, and other particles that decrease airflow and stress components. Make sure vents and registers are open and not covered by furniture or drapes. A slight dusty or burning smell the first time you run it is typical as dust burns off, but strong odors, smoke, or lasting smells are cause for concern.
Safety checks eliminate a vulnerability before you depend on the system every day. For gas furnaces, check that the pilot or ignition lights are functioning properly and there aren’t any gas smells. Test any carbon monoxide alarms close to bedrooms and the furnace room, change batteries and look at manufacture dates. Check flue pipes and chimneys for obstructions such as animal nests or visible corrosion. For electric heaters, check for frayed cords, burnt outlets or tripped breakers. Remove a minimum of three feet of clearance around the furnace or boiler access panel to permit airflow and safe servicing.
Have a pro inspection for a more accurate read. Technicians will verify combustion efficiency, take carbon monoxide readings, test safety controls, inspect heat exchangers and burners, and check things beyond the usual homeowner check. Book servicing now in early fall so that there is time for repairs or part replacement and to get preferred service slots. Maintain written records of dates, results, filter sizes, and service notes to make future inspections quicker and more precise.
Create a personalized winterization checklist tailored to your home: filter change dates, thermostat battery swaps, alarm tests, vent clearing, pilot or ignition checks, and a scheduled pro inspection. Testing the system on a mild afternoon allows you time to work out the kinks before the house gets chilly.
Conclusion
Start by checking the basics: vents, filters, and thermostat batteries. A qualified tech can identify potential issues and save time. Give it a short test run and look out for strange sounds, weak airflow, or uneven heat. If you smell fuel or strong burning, turn the unit off and call a professional. Observe local safety regulations for combustion appliances and keep carbon monoxide alarms fresh with new batteries. Minor repairs today, such as a cleaned filter or an adjusted vent, reduce repair expenses down the road. For your records, note the date of first start and any observations on noise or smell. Need a quick starter checklist you can print or save? Comment and I’ll do one for your region.
Frequently Asked Questions
Do I need a professional inspection before first heating-up?
Yes. A certified HVAC technician inspects to ensure safety, efficiency, and compliance. This inspection forestalls carbon monoxide risks and costly repairs. Have them inspected every year before winter.
What should I include in a critical startup checklist?
Inspect filters, vents, thermostat configuration, pilot or ignition system, and fuel supply. Test smoke and carbon monoxide detectors. Change out worn components before firing up the system.
Are there regional safety standards I should know for California?
Yes. California adheres to building code and appliance standards for emissions and venting. Use licensed contractors and request compliance documentation during inspection.
How long should I run an initial test run?
Run the system for 15 to 30 minutes on initial startup. Listen for funny noises, check airflow and temperature rise, and watch for odors or leaks.
Is a first-burn smell normal and when is it dangerous?
It’s normal to have a light burning or dust smell for a few minutes. If there are lingering chemical or pungent odors or you see smoke, something’s wrong. Turn the system off and call a pro.
How often should filters and vents be serviced?
Check filters monthly and change them every 1 to 3 months depending on usage and air quality. Clean vents annually or more if they are blocked or dusty.
What immediate signs mean I should turn the system off and call a pro?
Turning off is smart if you notice a gas odor, high CO alerts, flames beyond the burner perimeter, loud banging, or fluid leaks. These are immediate safety concerns.